Configuring Integration between Jira Data Center and GitHub Enterprise Cloud
Overview
First, let me be very specific with what I am covering in this post, which is the scenario I run into most often. I am going to cover how to integrate Jira Data Center, running self-hosted, with GitHub Enterprise Cloud (GHEC). This could be either regular GHEC or the Enterprise Managed Users (EMU) version. The assumption is the Jira instance is not externally accessible, meaning it can call out to the Internet for stuff, but I can’t make a webhook call from GHEC to Jira.
There are other scenarios as well. If the Jira Data Center is externally accessible, this allows you to have webhooks from GHEC to Jira, increasing some of the functionality options. And integrating with Jira Cloud provides even more functionality.
Step 1: We Need An OAuth App
To connect GHEC to Jira, I need to use an OAuth Token. While the Jira documentation says to use a user OAuth app, I think the better option is to use a organization OAuth app. You will need to be an organizational owner to create this app.
My organization is named DevOpsElvis. I’m going to select Settings for the organization, then scroll to the bottom and select Developer settings | OAuth Apps, as shown in Figure 01.
 Figure 01. Select OAuth Apps from developer settings
Currently, as shown in Figure 02, I don’t have any organization owned OAuth apps to use. I need to create one. To get started, I’ll click the big green button that says Register an application.
 Figure 02. Select Register An Application
This will open the Register a new OAuth application page. I’ll configure my application as follows:
- Application name - This is the name I want to give this OAuth app. I should be descriptive here, so I’ll enter Jira DS Integration.
- Homepage URL - This should be set to the base URL for your Jira server. Yes, the Jira server isn’t externally accessible, but that doesn’t matter. Trust me, set it to the base URL for your Jira server. You can find this by going to
Administration | System | General configuration | Base URLon your Jira server. For my test server, it is simply http://localhost:8080. - Application description - This allows you to provide a description or reason for this app. I recommend you fill this out.
- Authorization callback URLs - Again, as with Homepage URL, this should be set to the base URL for your Jira server.
Figure 03 shows how I filled out the form. To finish registering the app, I click the big green Register application button.
 Figure 03. Register the OAuth App
I’m not quite done with this step yet though. I need two values to be able to use this app: Client ID and Client Secret. To generate a Client Secret, I need to click the Generate a new client secret button on the current page. This will generate a client secret for you, as shown in Figure 04. You can also see the Client ID on this page.
 Figure 04. Create client secret
At this point, we have everything we initially need from the GitHub side to create the integration.
Step 2: Configure the Jira DVCS connection
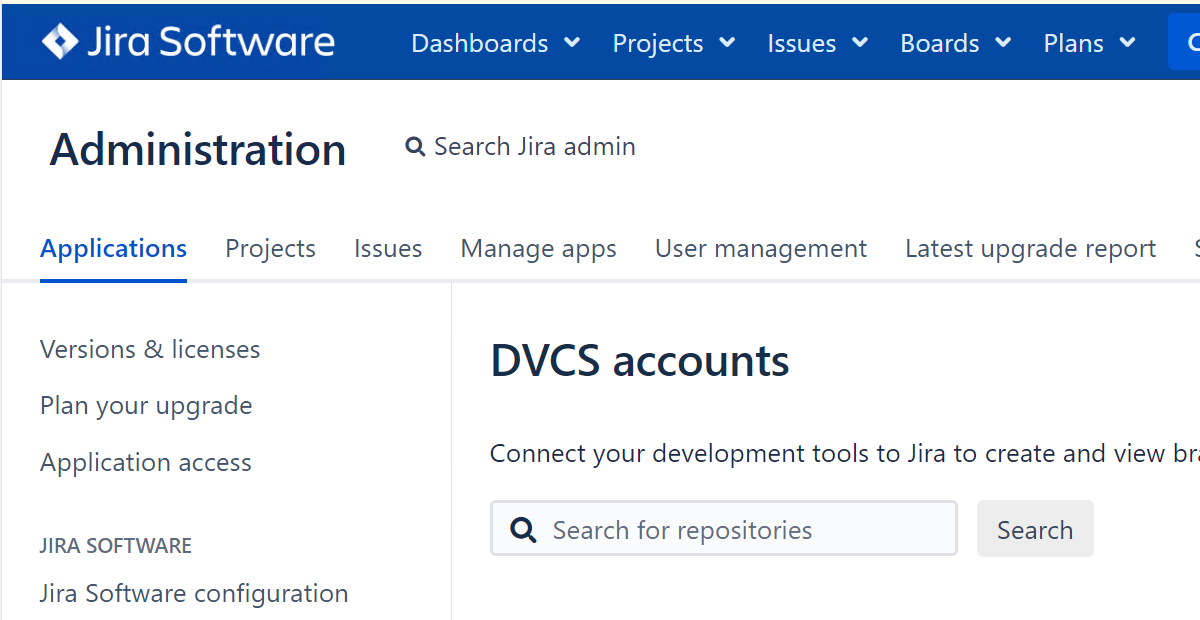
Over on the Jira Data Center Server, which I am an administrator of, I select the cog at the top right and go to JIRA ADMINISTRATION | Applications. On the left side of the screen I select INTEGRATIONS | DVCS accounts. Currently I don’t have any DVCS account created, so I click the big blue Link an account button in the center of the page.
This opens the Add new account dialog box. From here I can connect to BitBucket, GitHub, or GitLab. There are two options for connecting to GitHub:
- GitHub - This is used to connect to GHEC or EMU
- GitHub Enterprise - This is used to connect to GitHub Enterprise Server which is the self-hosted version of GitHub.
I am going to fill out the form as shown in Figure 05. For Team or User Account I enter the organization name related to my organization OAuth app. I also enter the Client ID and Client Secret from our previous step. Now I click the Add button to start the process.
This is important! Make sure you are logged into GHEC in a separate tab in the same browser before you click the Add button on this dialog box.
 Figure 05. Create DVCS Connection
It’s going to bring up a page, Figure 06, where I need to authorize the Jira integration with GitHub. It gives me some information on the type of information it will access. It also gives me the option to authorize this to other organizations. I prefer to create a new app for each org, and since I am an org owner for devopselvis, I don’t have the request any authorization.
 Figure 06. Authorizing GitHub Connection
I scroll down to the bottom of the page and click the big green Authorize devopselvis button, as shown in Figure 07. Notice how it says it will now redirect me back to https://localhost:8080, which is my Jira instance. This is why you enter your base URL for your Jira instance in the app, even though it isn’t externally accessible.
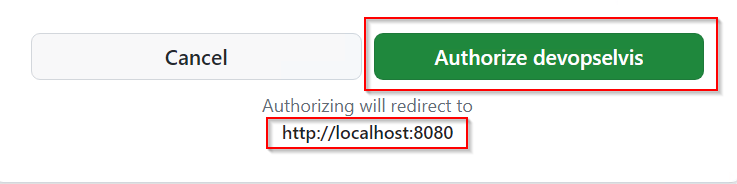 Figure 07. Authorizing GitHub Connection
When it redirects you, you are initially going to see something similar to Figure 08, as it starts to sync over the repositories from the organization. You’ll also notice that it says something about configuring webhook secrets.
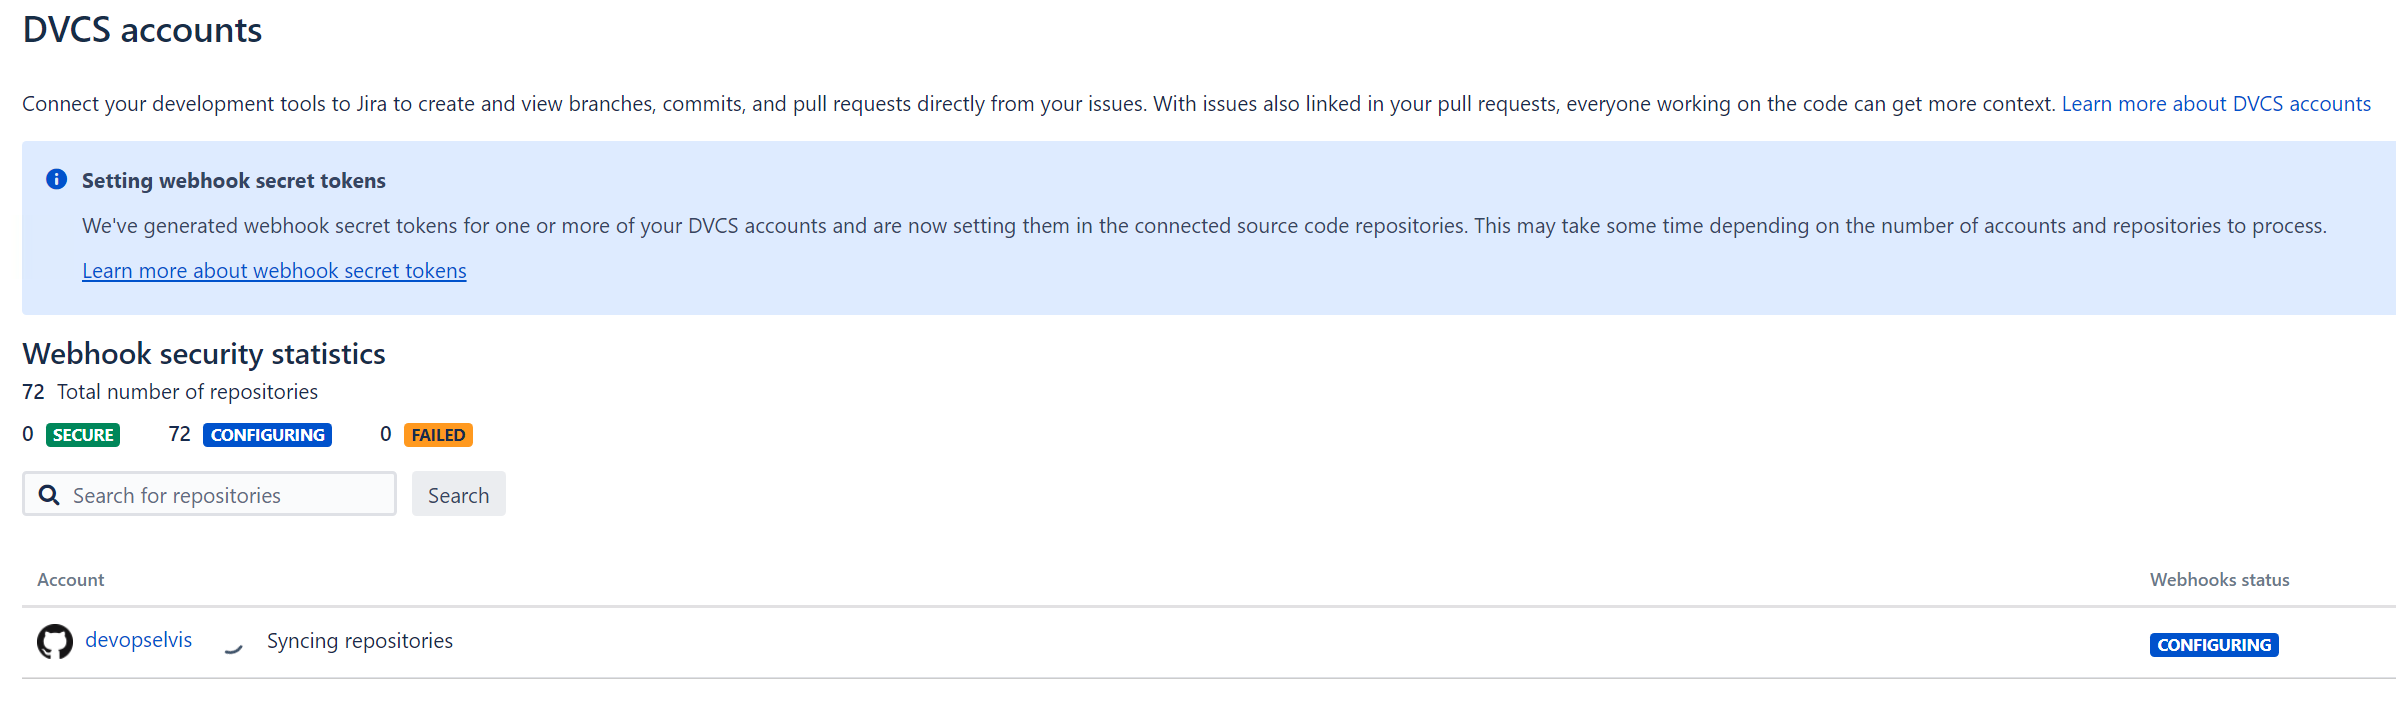 Figure 08. DVCS Syncing
This isn’t going to work, because of Jira not being externally accessible. Ultimately it is going to come back and tell you that We couldn't set the secret token in all repositories and you’ll see the word failed on the page. Don’t stress. It couldn’t set the webhooks, but it did sync the repositories. If I click on the account devopselvis I can see that it synced over all 72 repositories and I have enabled smart commits on all of them (Figure 09).
 Figure 09. Synced repositories
Step 3: Using Smart Commits
So now what? Well, by default, Jira will sync all the repositories every 60 minutes. This is a configurable value, so you can set it to be shorter, but you may encounter GitHub API rate limiting, so be careful. You can also force a repository to sync by going to the list of synced repositories in Jira, hovering over the Last activity column, and clicking the click to sync repository button that appears.
When it syncs, Jira is looking for special commands, called Smart Commits that I have put in commit messages, pull requests, or branch names. Let’s look at a couple of examples.
In Jira, I have created a project called SCRUM, with a Jira slug also called SCRUM. I want to make some changes in GitHub, and link them back to the SCRUM-9 work item, shown in Figure 10.
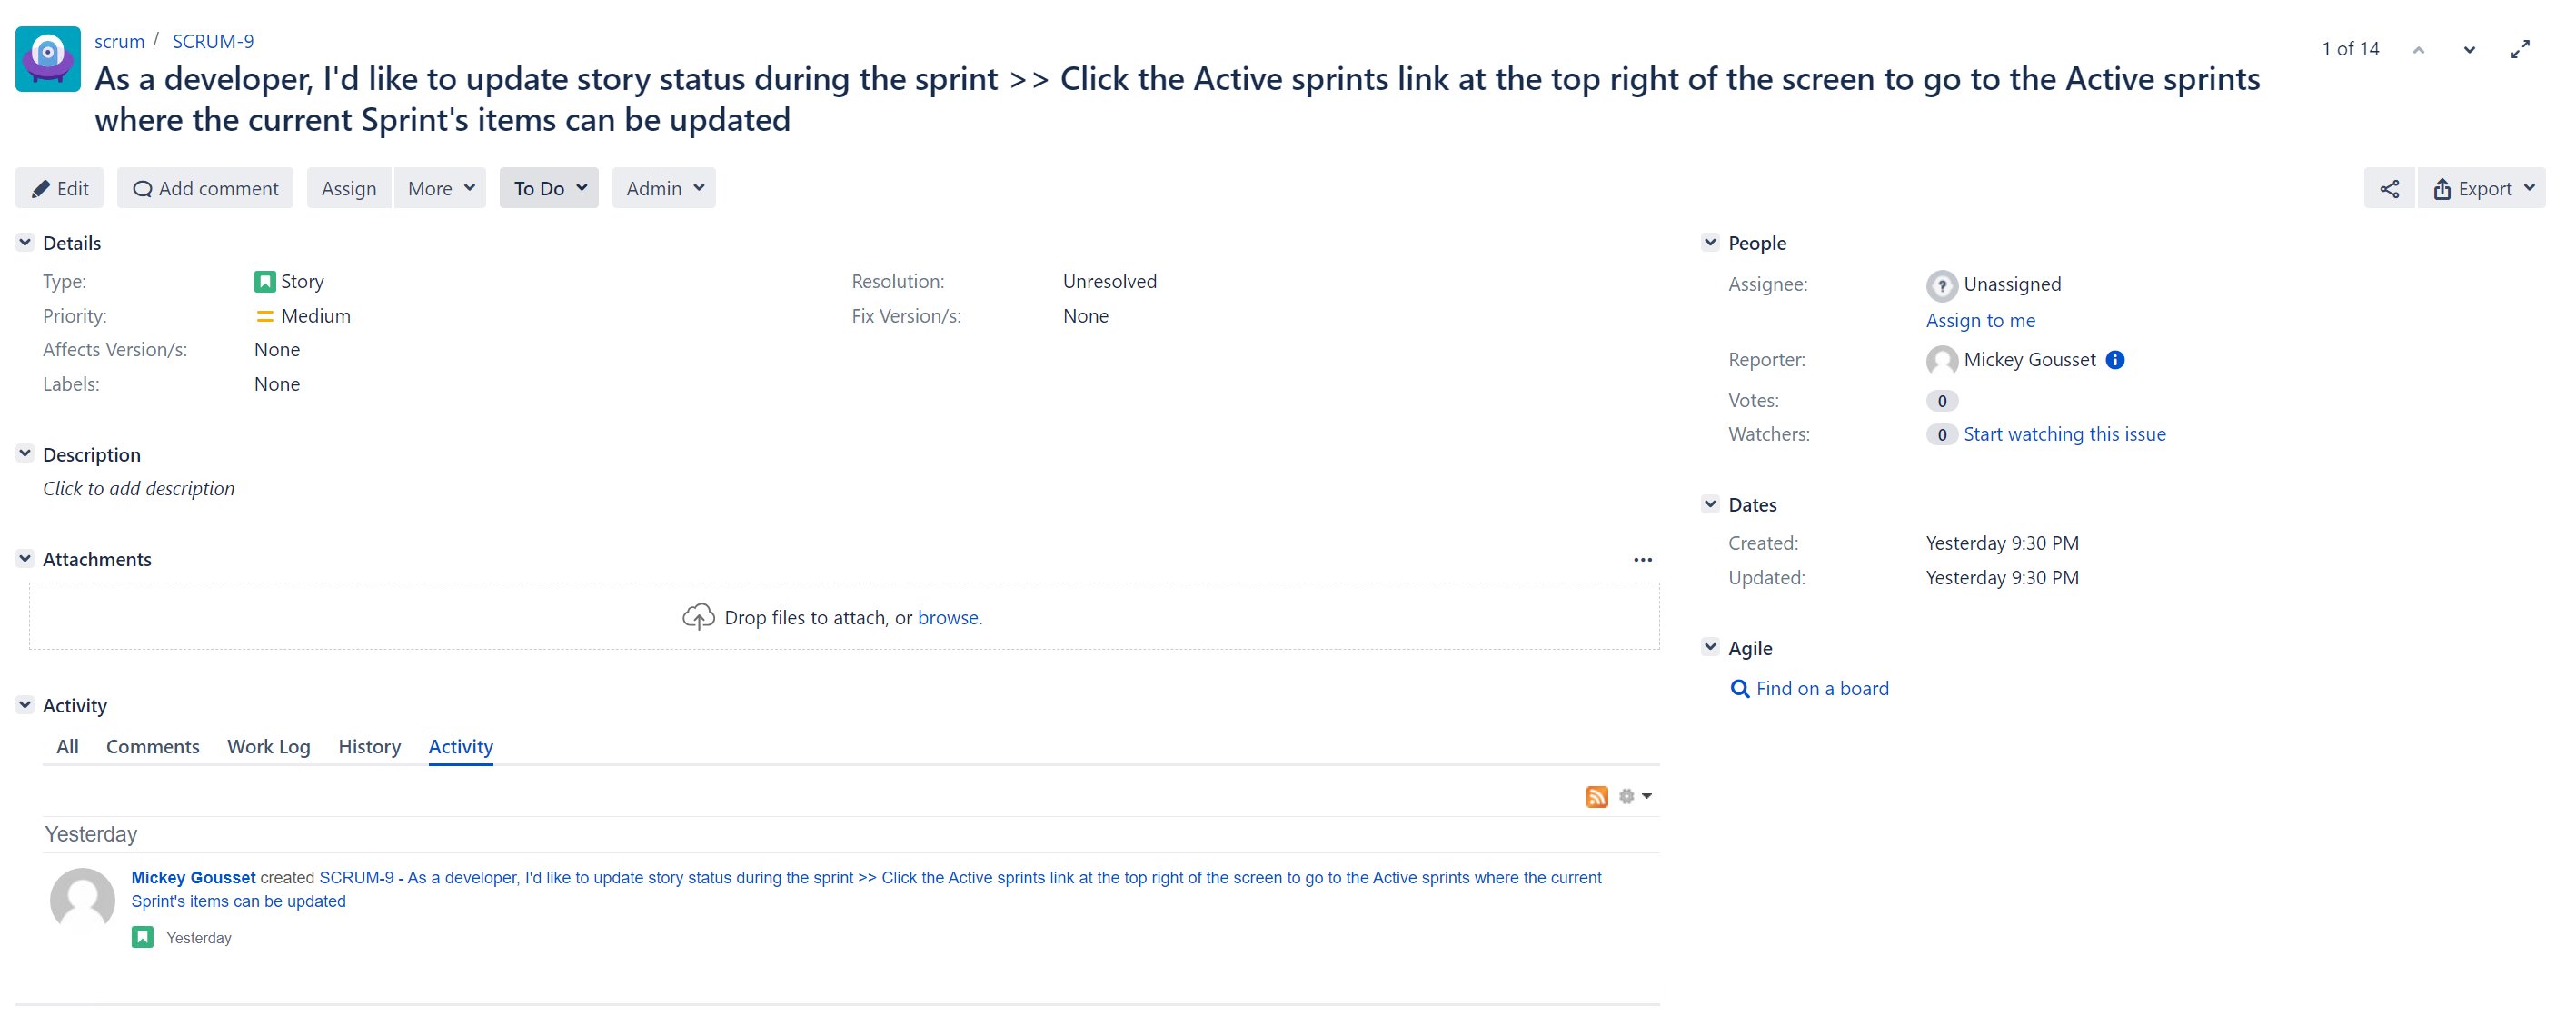 Figure 10. SCRUM-9 Work Item
I am going to modify the README.md file in my deleteme2 repository. I add a line to the file, then click the big green Commit changes… button. In the Propose changes window, shown in Figure 11, I enter the following information:
- Commit message - To link this commit back to the
SCRUM-9work item in Jira, I enter the slug for the project,SCRUM, a dash, and then the number9. I can also enter a message after that. Theslug-numbercan go anywhere in the commit message - Creating a new branch - I am creating a new branch with this commit, and I want the branch linked to the Jira work item as well. Just like with the commit message, I make sure that
slug-numberis part of the branch name.
 Figure 11. Creating a commit and branch
I can click the big green Propose changes button on the dialog to create the branch, save my changes, and take me to where I can create a pull request, if I want to. To link a pull request to a Jira work item, you add the slug-number to the pull request title, as shown in Figure 12.
 Figure 12. Creating a pull request
Now let’s go see this information linked to my work item. Back in Jira, I am going to go to the list of repositories synced over from Jira in the DVCS Account section, and click the click the sync repository button. The sync will run.
If I go back to my SCRUM-9 work item in Jira, on the right-hand side, in the development section, I will now see what is shown in Figure 13.
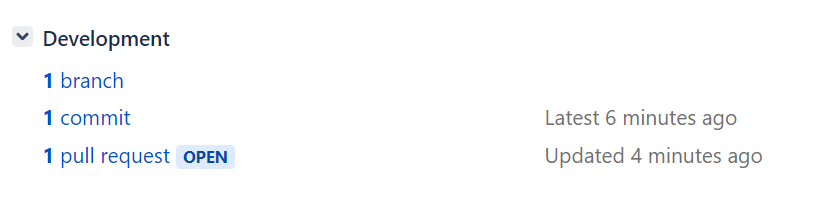 Figure 13. DEV section of SCRUM-9 work item
As you can see, I have 1 branch, 1 commit, and 1 pull request.
I can click each of these to see details. For example, Figure 14 shows the information if I click on the branch. From here I can click to go to the repository, the branch, or even create a pull request if one wasn’t already open.
 Figure 14. Jira Branch information
Clicking on the commit takes me to the commits dialog window, Figure 15, which will show me all the linked commits. I can click from here to go to the specific commit. I can also click the link under Files to see the files modified in the commit.
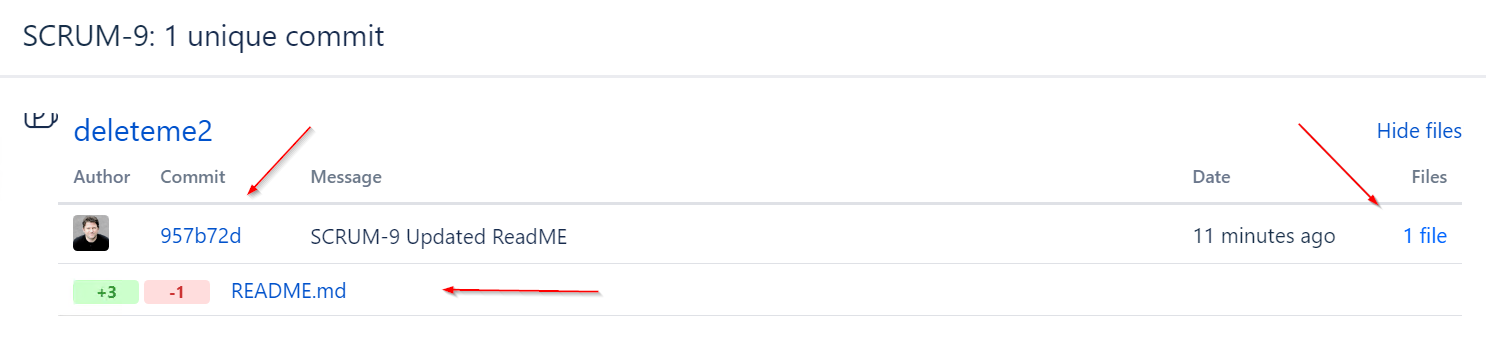 Figure 15. Jira Commit information
Finally, clicking on the pull request takes me to the pull request dialog window, Figure 16. Here I can see my open pull request and can click it to go to it in GitHub.
 Figure 16. Jira Pull Request information
And, as I add more commits, more pull requests, merge pull request, and more, it will all be reflected on the work item, and on the details for each section.
Conclusion
There ya go. If you are looking to integrate Jira Data Center (self-hosted) with GHEC or EMU, this guide should help you. Remember, for this scenario, my Jira was not externally accessible. If it was, I would have been able to implement webhooks so that when I create a commit, pull request, or a branch, it automatically synced the information, and we didn’t have to wait 60 minutes for the polling to occur.
Let me know what you think of this post by leaving a comment, hitting me up on Twitter/X, or send me an email. Thanks for reading!